
How to programme RT6?
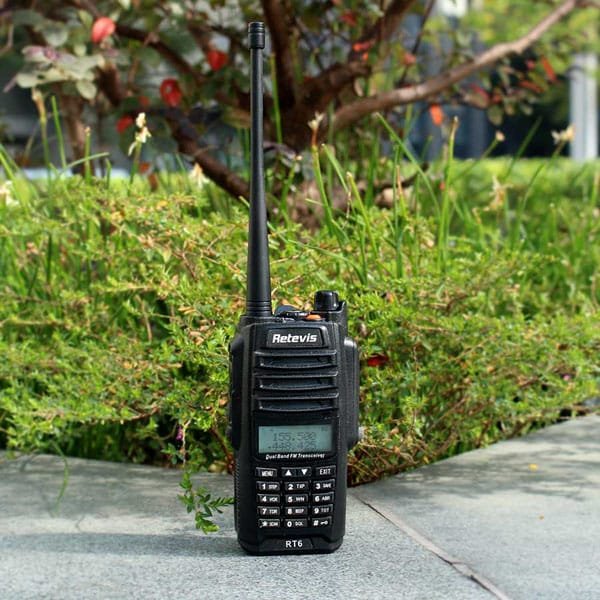
Retevis RT6 is classic model, IP67 water&dust proof, dual band, dual standby. With LCD display to programme by hand conveniently.
Now let’s go to business, do you know how to programme RT6 when you get a new radio at hand?
Same Retevis radio model no. is with same default settings.
For new RT6, just switch the new radios in same channel, they can communicate directly.
Programme RT6 when you need make some changes:
Step:1 Please download and install RT6 USB driver (USB Universal Driver) in RETEVIS official website https://www.retevis.com/resources-center/
Step 2: You need a programming cable J9114P
Step 3: Connect your RT6 with you PC, using progrogramming cable
Step 4: Turn on the radio RT6.
Step 5: Now we come to RT6 software interface
Step 6: Choose the correct communication port
(check in computer-device manager)
Step 7: Click” Read from Radio” in “Program” Column
Step 8: Write the date, such as “RX frequency”, “TX frequency” CTC/DCS DEC and CTC/DCS ENC in to the channels
For example:
RX frequency:452.12500
CTC/DCS DEC: 69.30
TX frequency 452.12500
CTC/DCS ENC: 69.30
 Finally Step 9:Click “Write to Radio”. Then all datas will be save to radio.
Need know more about RT6? Please feel feel to write to us kam@retevis.com, thanks!
Visits: 224
how can I program retevis rt6
hi, please go here https://trac.chirp.danplanet.com/chirp_daily/LATEST/
for french frequencies please visit this site https://github.com/driket/pmr446
How do you turn it from Japanese to English?
hi, click the setting on the software, find the language to change
but our radio don’t have the japanese