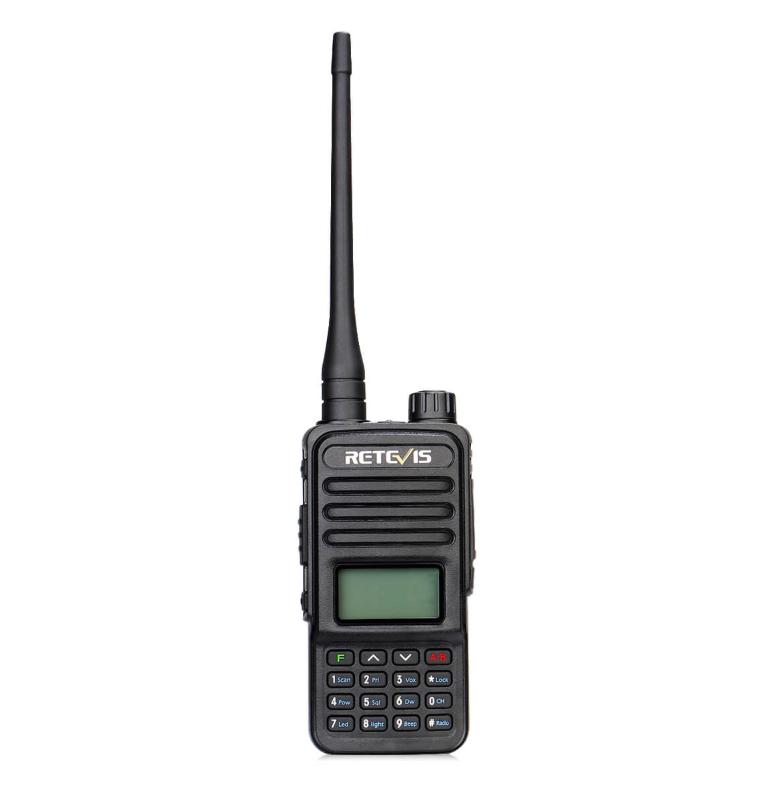
Retevis RT85 is an entry-level user-friendly analog radio! You will not regret choosing it!
For a beginner, what they need to know about a walkie-talkie?
Write frequency is a very important thing.
Step 1: Install the driver
For Windows 10 system, most guys don’t need a USB driver, just download the software and set it up is ok.
Step 2: Write frequency software download and install
Go to the official website of the walkie-talkie that needs writing frequency to find the model and download the software of the model. Install successfully after downloading.
Step 3: Look for the port of the walkie-talkie
Find Device Manager on your computer (how to open Device Manager: right-click on My Computer, then click Properties and then click Device Manager in the left toolbar).
View the walkie-talkie ports in the Ports (COM1,2,3).
Step 4: Select the right walkie-talkie port
In the previous step, check the correct walkie-talkie port, selected the corresponding port in the frequency writing software, and clicked ok to complete the preliminary installation work.

Step 5: Read walkie-talkie frequency
First, we read the factory frequency on the walkie-talkie. We can see the preset frequency in the walkie-talkie as shown in the figure below.
Step 6: Modify the frequency
To modify the preset channel frequency, click the frequency chart to input the modified frequency.
Step 7: Write the new frequency
After the modification of the channel frequency, there is a final step to complete the frequency writing, that is, click the “write ” button, just after the modification of the frequency into the walkie-talkie.
Finished!!!
Visits: 720
Just like RT85
BOTH A AND B STUCK ON
435.000
WILL NOT SCAN
HELP THANK YOU WAYNE